今回は、Google Apps Script (GAS) でSlackのAPIが簡単に取り扱えるライブラリの紹介です。
ここでは、SlackにインストールしたBotからメッセージを通知するものを作ります。
GitHub - soundTricker/SlackApp: Slack API Library for Google Apps Script · GitHub
目次
Slackの設定
Appの作成
Slack API のページを開く
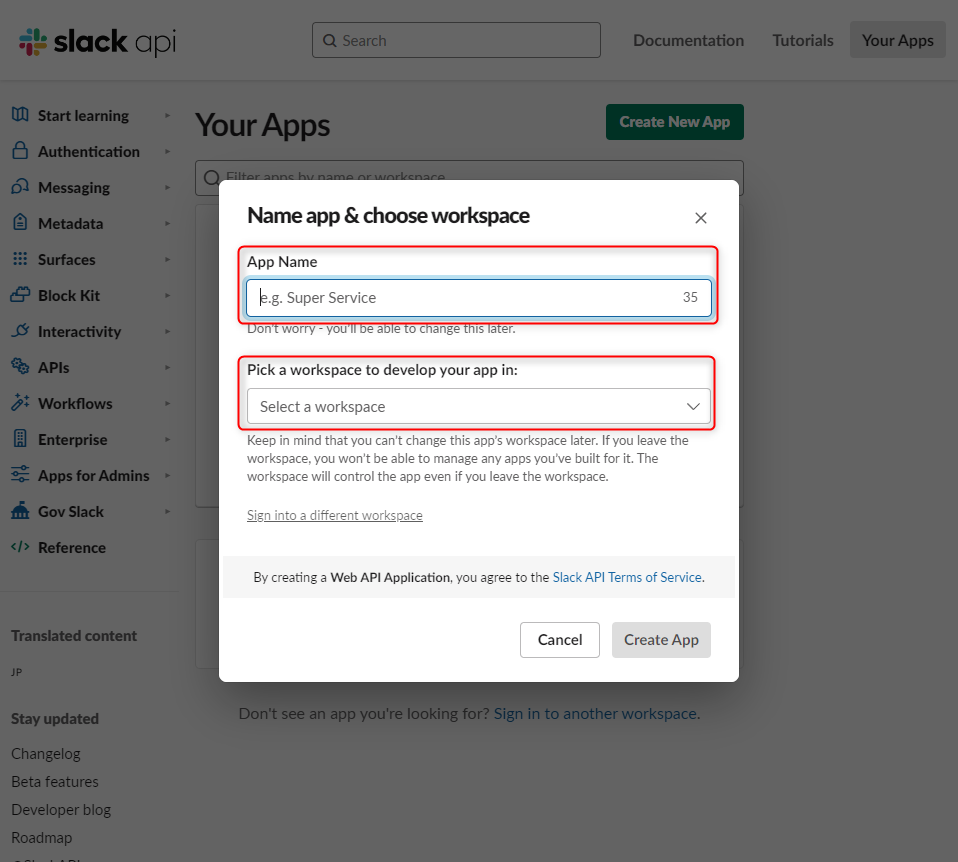
「①Create New App」→「②From scratch」をクリック

「App Name」にはアプリ名(表示名、後で変更可)
その下はAppを導入するワークスペースを選択
スコープの設定
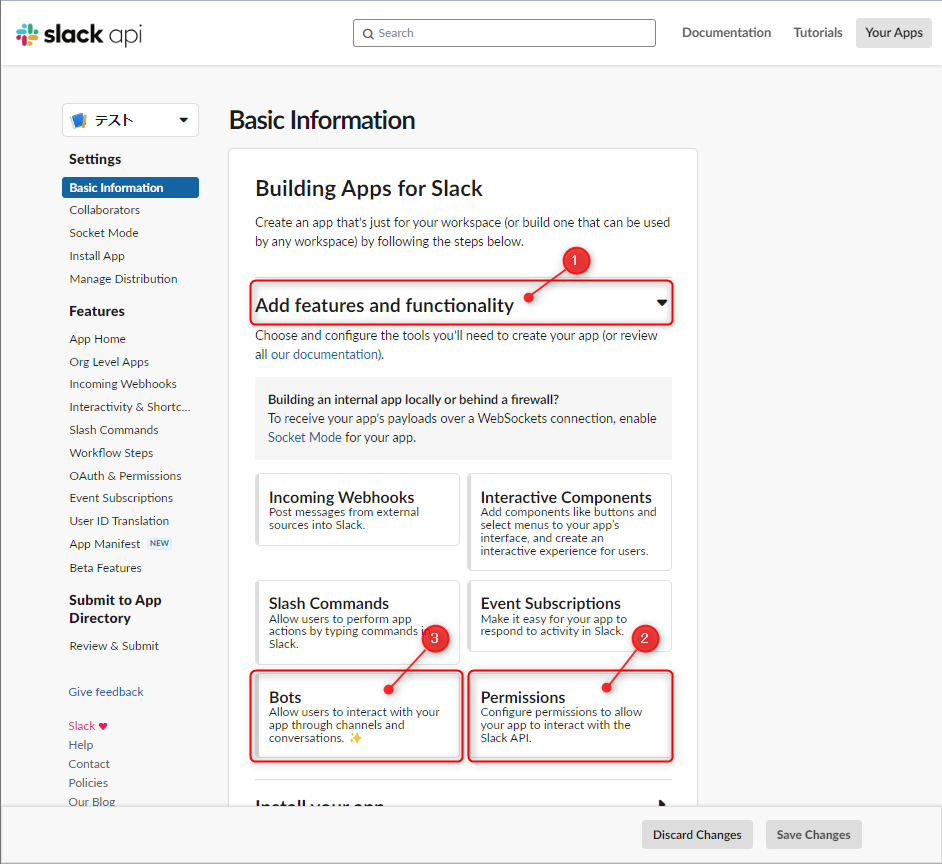
Basic Infomation (最初の画面) にある「①Add features and functionality」→「②Permissions」をクリック
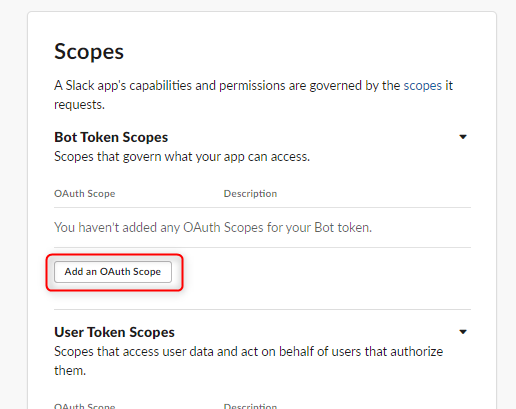
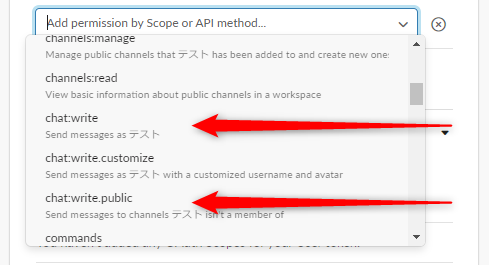
Scopes の項目で「Add an OAuth Scope」をクリック
ここでは、このApp(Bot)がアクセスできる操作を指定する。
※「Bot Token Scopes」と「User Token Scopes」の2つあるが、今回は前者を使用
「chat:write」と「chat:write.public」をクリック
※「chat:write.public」を有効にすると、Botがチャンネルに参加していなくてもメッセージが送信できる。
Botの設定
Basic Infomation (最初の画面) にある「①Add features and functionality」→「③Bots」をクリック
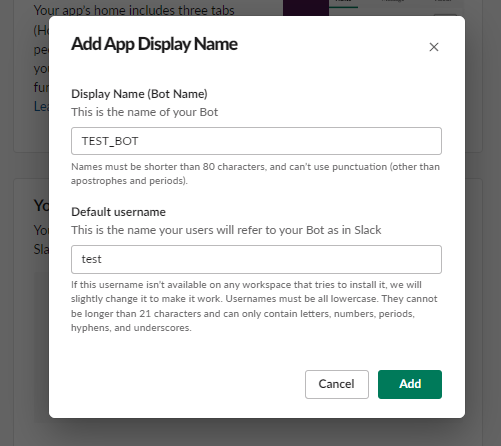
Your App’s Presence in Slack の項目にある App Display Name の「Edit」をクリック
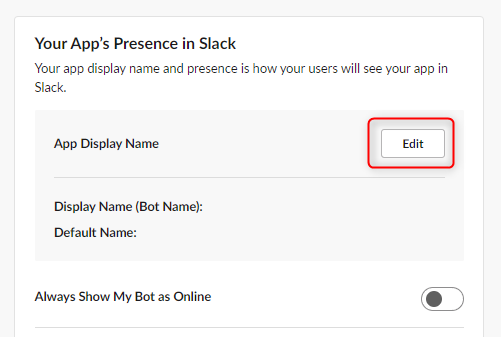
Display Name:表示されるBot名
Default username:Slackで参照する際に使用される名前
AppをSlackにインストール
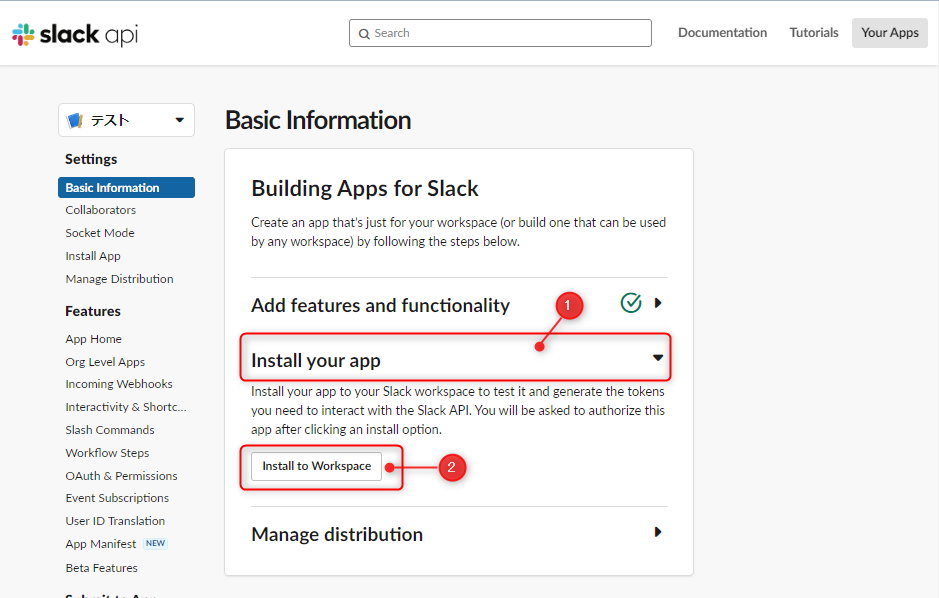
Basic Infomation (最初の画面) にある「①Install your app」→「②Install to Workspace」をクリック
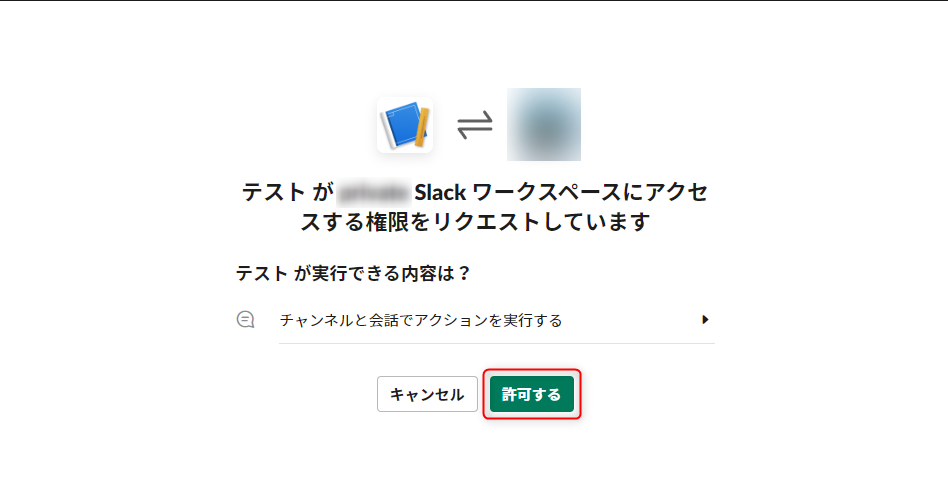
アプリがSlackにアクセスする権限をリクエストしてくるので、「許可する」をクリック
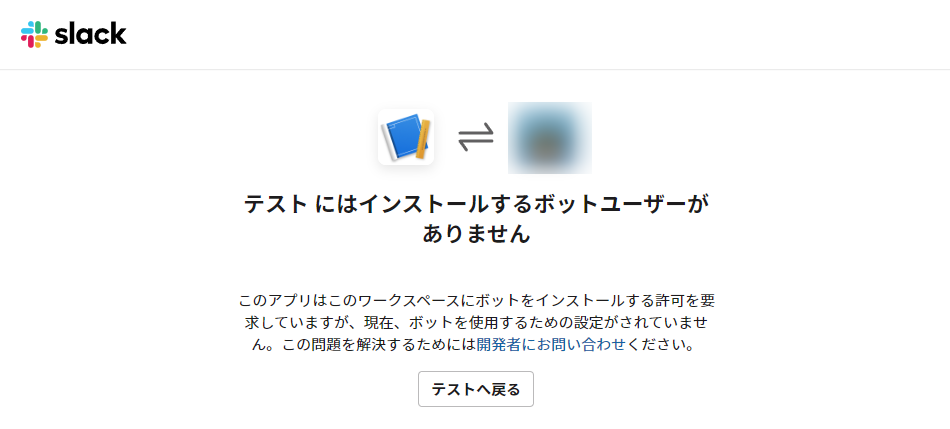
このような画面が出る場合は、Botの設定で Display Name を設定できていない可能性があります。
Tokenを確認
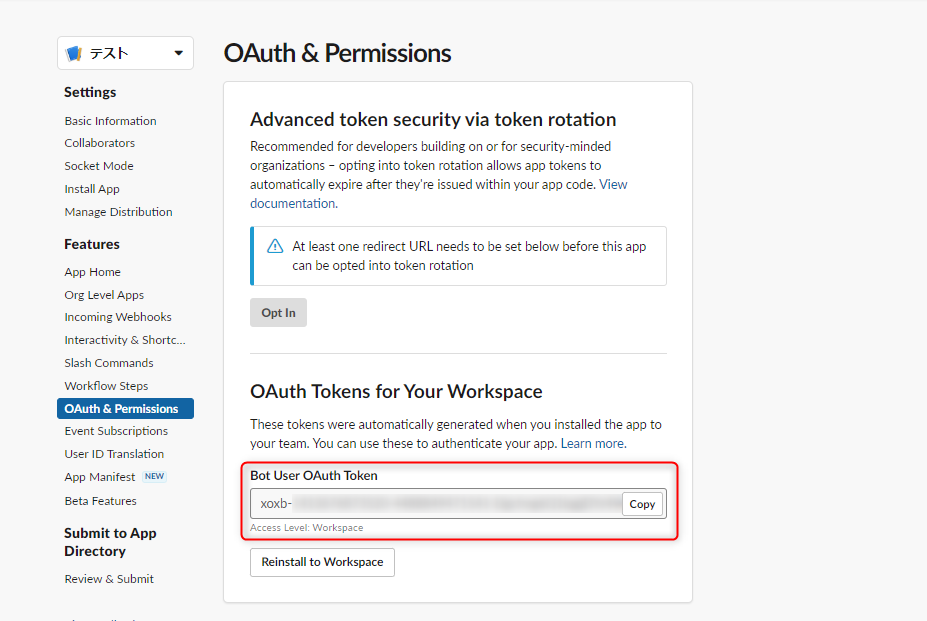
Basic Infomation (最初の画面) にある「①Add features and functionality」→「②Permissions」
「Bot User OAuth Token」に記載されているものが Token です。後ほどGASで設定するので、コピーしておく。
GASの設定
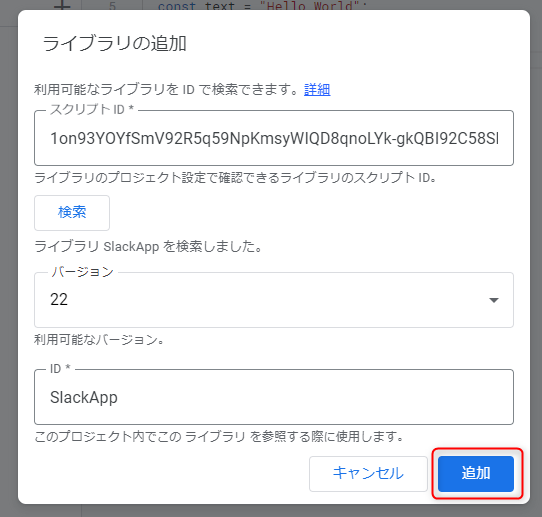
ライブラリ(SlackApp)の追加
①GASの左側にあるライブラリの”+” をクリック
②以下のスプリクトIDを入力し、「検索」をクリック
1on93YOYfSmV92R5q59NpKmsyWIQD8qnoLYk-gkQBI92C58SPyA2x1-bq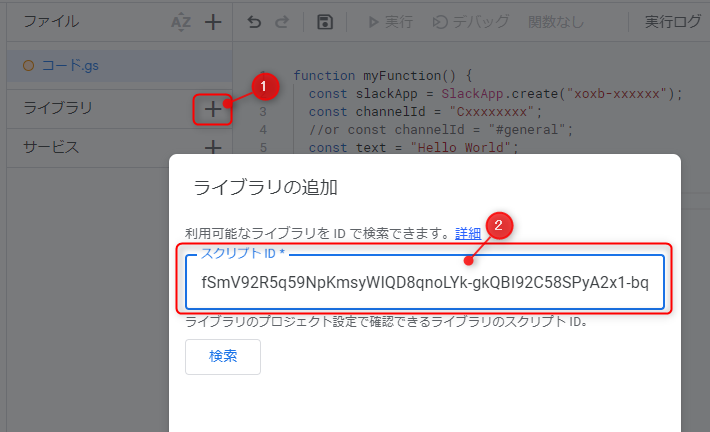
IDの欄に「SlackApp」が表示されたら「追加」をクリック
Slackに通知するプログラム
「funcion MyFunction()~~」と書かれている部分をすべて消して、以下のプログラムを記述
function sendSlack() {
  const slackApp = SlackApp.create("{xoxb-xxxxxx}"); #SlackAppで取得したToken
  const channelId = "{Cxxxxxxxx}"; #投稿するchannelID
  //or const channelId = "#general";
  const text = "Hello World"; #投稿するメッセージ
  slackApp.postMessage(channelId, text);
}- {xoxb-xxxxxx} :SlackApp設定時に取得した Token を入力
- {Cxxxxxxxx} :“C”から始まるチャンネルID もしくは チャンネル名(“#general”)

「①プロジェクトを保存」→「②実行」をクリック

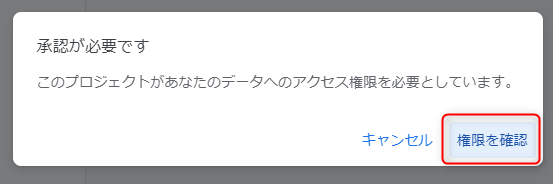
承認が必要な場合
はじめて実行する場合は「承認が必要です」通知が出てくるので、「権限を確認」をクリック
※この後、Googleアカウントを選択する画面が出てくる場合があるので、使用しているアカウントでログイン
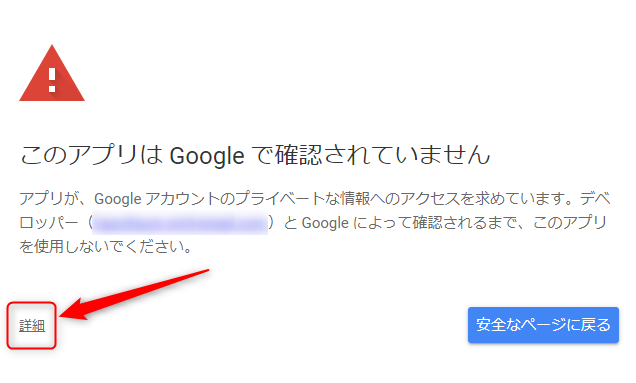
「このアプリはGoogleで確認されていません」と表示されるので、左下の「詳細」をクリック
※「安全なページに戻る」をクリックすると、先に進めません。
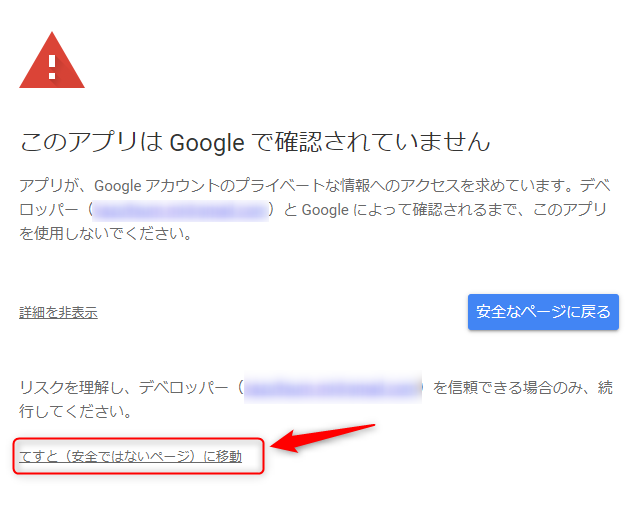
左下の「xxx(安全ではないページ)に移動」をクリック
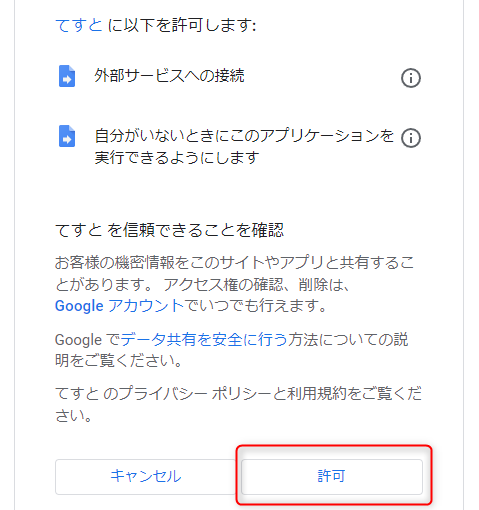
Googleアカウントへのアクセスを許可するか表示されるので、右下の「許可」をクリック
※プログラム(GAS)がGoogle内部のデータにアクセスすることを承認するかの画面です。プログラムに不正なコードが混入している場合には、情報漏えいのリスクがあります。
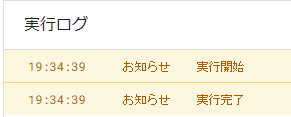
動作確認
GASで以下のように実行ログが出ていればOKです。
エラーが出たら、コピペしたコードに間違いがないか、SlackAppを手順通りに作成したかなど、確認しましょう。
同時にSlackにも通知されます。
