こちらの記事のアップデート版です。

Googleフォームの回答内容をLINEで通知する #GoogleAppsScript - Qiita
Googleフォームで回答されたときに、LINEで回答内容を確認できるものを作ります。
使うもの
- Googleフォーム
- Google Apps Script (GAS)
- LINE Notify
LINE Notify の設定
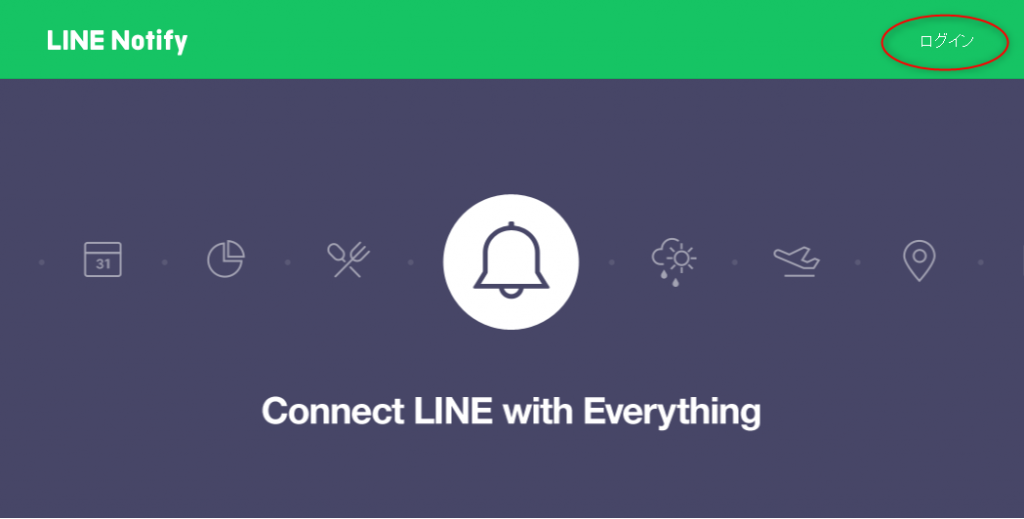
こちらから LINE Notify にアクセス
右上のログインから、LINEアカウントでログイン
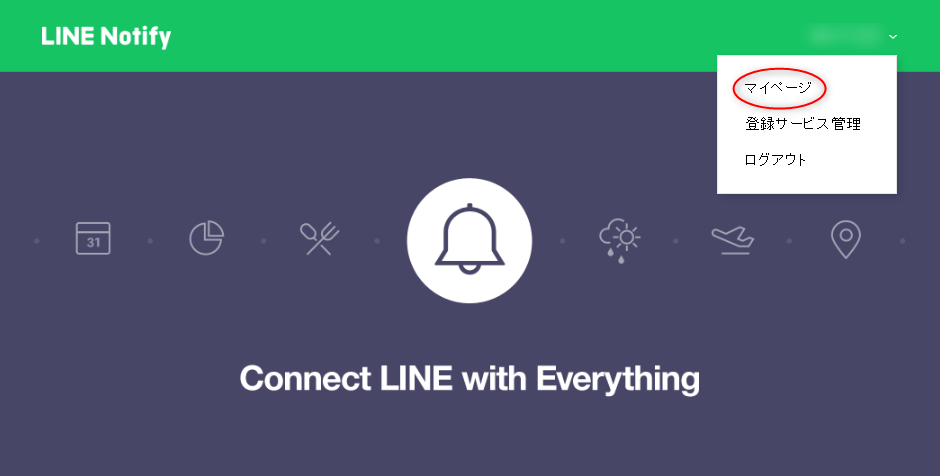
ログインできると、右上がアカウント名(名前)になるので、アカウント名の部分をクリック→「マイページ」をクリック
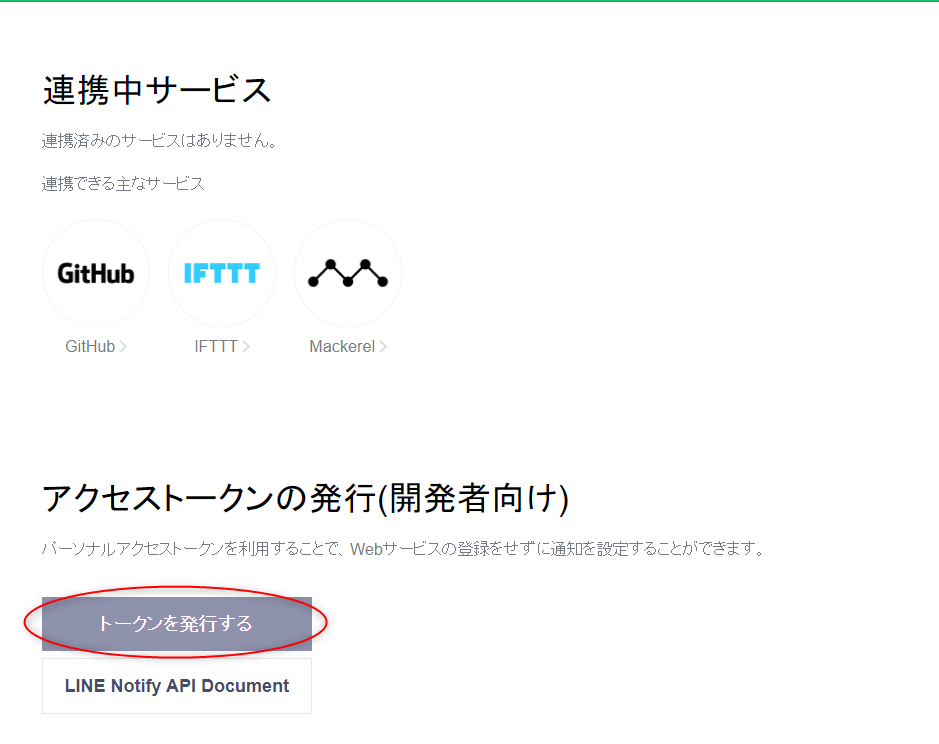
画面下の「トークンを発行する」をクリック
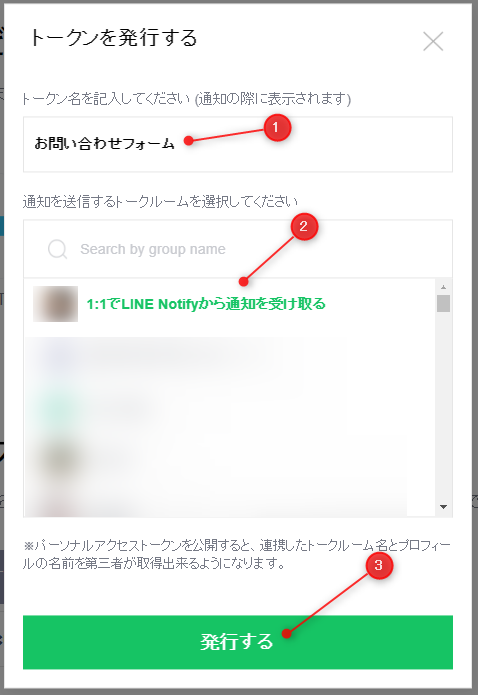
「①トークン名」は通知する際に表示される名前です。
「②トークルーム」で通知するLINEグループを選択してください。一番上の「1:1でLINE Notifyから通知を受け取る」を選択すると、「LINE Notify」のアカウントから通知が届きます。
「③発行する」をクリックして、トークンを発行します。
次の画面でトークンが表示されるので、忘れないようにコピーしておく!
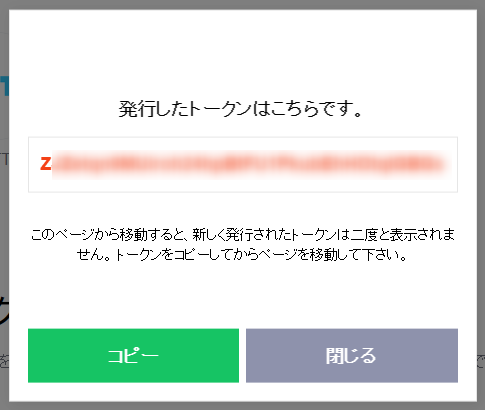
「LINE Notify」から「Personal Access Tokenを発行しました。」と通知が届きます。

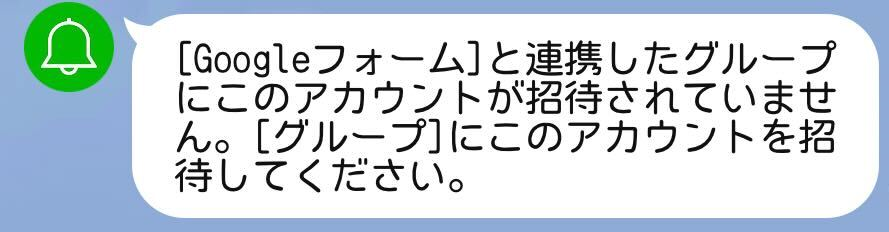
通知を送るLINEグループに「LINE Notify」が招待されていない場合は、以下の通知が届きます。LINEグループに「LINE Notify」を追加しておきましょう。
Googleフォームの設定
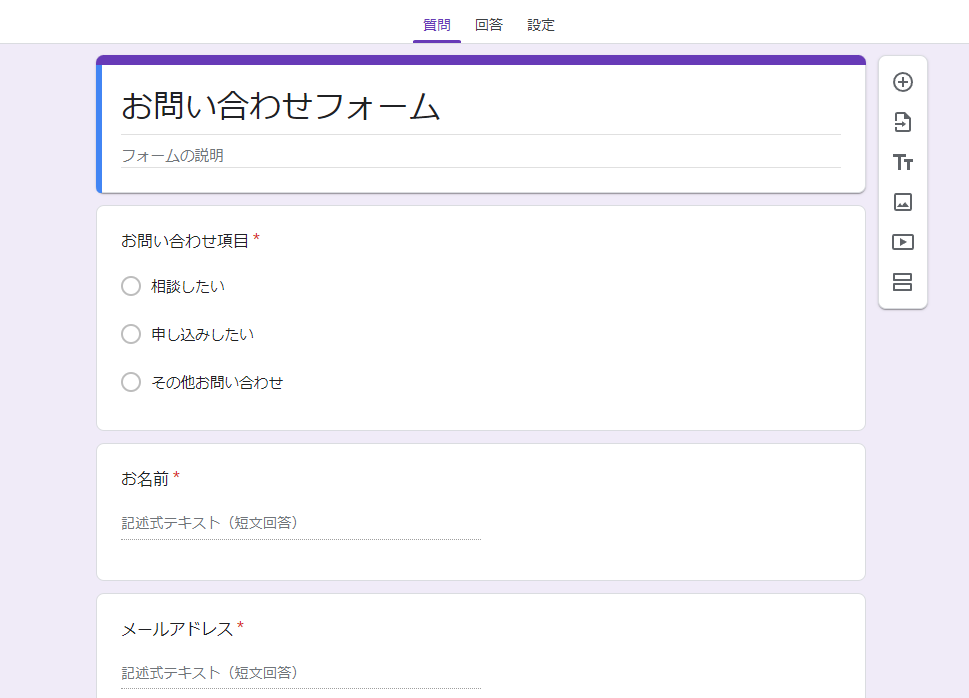
今回は例として、以下のようなフォームを作成します。
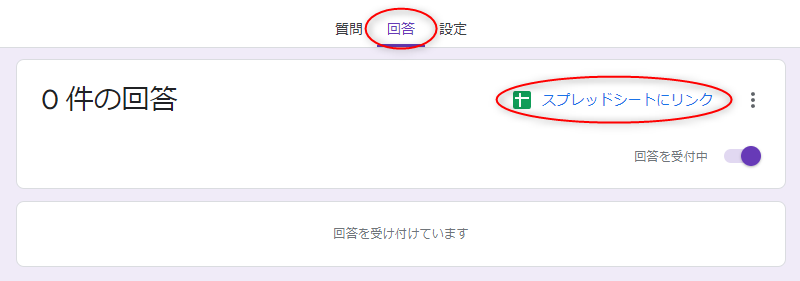
「回答」のタブから「スプレッドシートにリンク」をクリックして、スプレッドシートを作成する
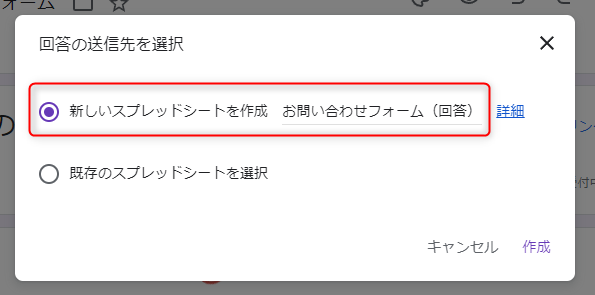
「新しいスプレッドシートを作成」にする。必要に応じてスプレッドシートの名前を変更する。
GASの設定
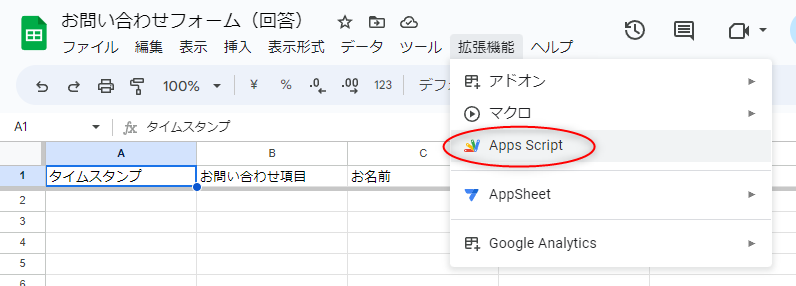
スプレッドシートが開いたら、「拡張機能」→「Apps Script」をクリック
デフォルトで記述されているコード(function myFunction()~~)をすべて消して、以下のコードをコピペする。
「{LINE_TOKEN_xxxxxxxx}」の部分に「LINE Notify」の設定時にコピーしたトークンを貼り付ける。最後に「Ctrl+S」で保存。
//spreadsheetからデータを取得
function GoogleFormToLine(){
  const sheet = SpreadsheetApp.getActiveSheet(); //sheetの指定
  const row = sheet.getLastRow(); //行数
  const column = sheet.getLastColumn(); //列数
  const range = sheet.getDataRange(); //sheetから範囲指定するための準備
  let message = "";
  for(i=1;i<=column;i++){
    const item = range.getCell(1, i).getValue(); //1行目
    let value = range.getCell(row, i).getValue(); //最終行
    if(item == "タイムスタンプ"){ //タイムスタンプを見やすくする
      value = Utilities.formatDate(value,"JST","yy/MM/dd(E) HH:mm:ss");
    }
    message += "\n■"+item+"\n"+value;
  }
  SendToLine(message);
}

//LINEに通知
function SendToLine(message){
  const token = PropertiesService.getScriptProperties().getProperty('LINE_TOKEN');
  const op =
    {
      "method" : "post",
      "Content-Type" : "application/x-www-form-urlencoded",
      "payload": "message=" + message,
      "headers":{"Authorization" : "Bearer " + token}
    };
  const res = UrlFetchApp.fetch("https://notify-api.line.me/api/notify",op);
  Logger.log(JSON.parse(res.getContentText())); //Response
}

//Tokenを登録する
//1回実行したら、以下のコードを削除する
function RegisterToken(){
  const LINE_TOKEN = "LINE_TOKEN_xxxxxxxx" //ここにLINE_TOKENを入力する
  PropertiesService.getScriptProperties().setProperty('LINE_TOKEN',LINE_TOKEN);
}上のメニューバーの部分で「①GoogleFormToLine」をクリックして「②RegisterToken」を選択し、「③実行」をクリック

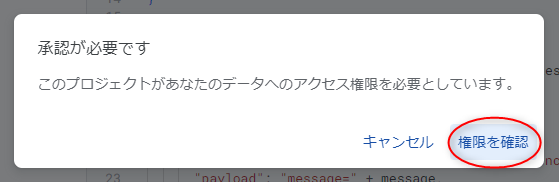
「承認が必要です」の画面が出てきたら「権限を確認」をクリック。次にGoogleアカウントへのログインを求められる場合があるので、ログインする。
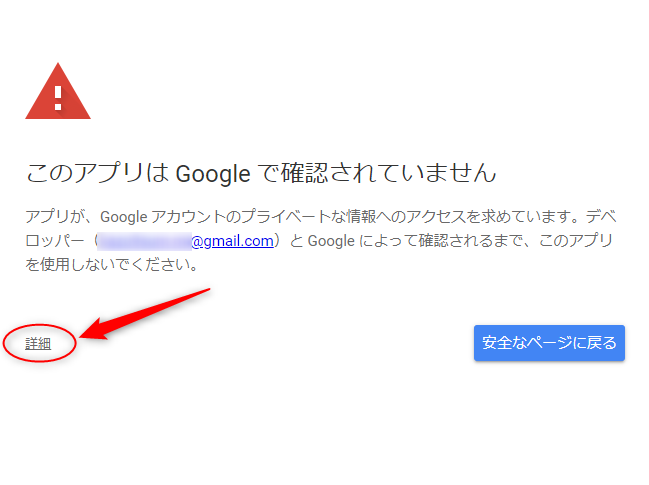
「このアプリはGoogleで確認されていません」と表示されるので、左側の詳細をクリック
※「安全なページに戻る」をクリックすると、先に進めません。
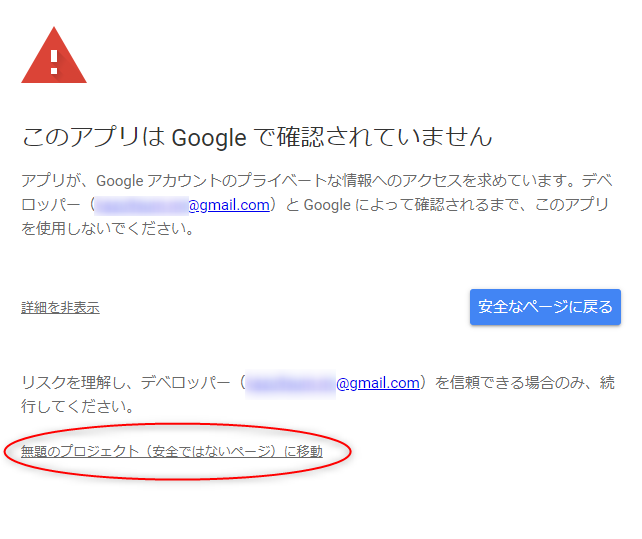
さらに左下の「xxx(安全ではないページ)に移動」をクリック
Googleアカウントへのアクセスを許可するか表示されるので、右下の「許可」をクリック
※プログラム(GAS)がGoogle内部のデータにアクセスすることを承認するかの画面です。プログラムに不正なコードが混入している場合には、情報漏えいのリスクがあります。

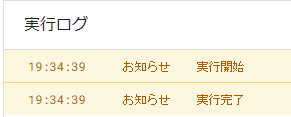
以下のように実行ログが出ていれば、LINE_TOKENが登録できているはずです。
※エラーが出たら、コピペしたコードに間違いがないか、手順通りにしたか確認しましょう。
LINE_TOKENが登録できたら、以下のコード部分は不要なので、削除しておきましょう。
※LINE_TOKENをコードに書きっぱなしにするのはよくないです。
//Tokenを登録する
//1回実行したら、以下のコードを削除する
function RegisterToken(){
  const LINE_TOKEN = "{LINE_TOKEN_xxxxxxxx}" //ここにLINE_TOKENを入力する
  PropertiesService.getScriptProperties().setProperty('LINE_TOKEN',LINE_TOKEN);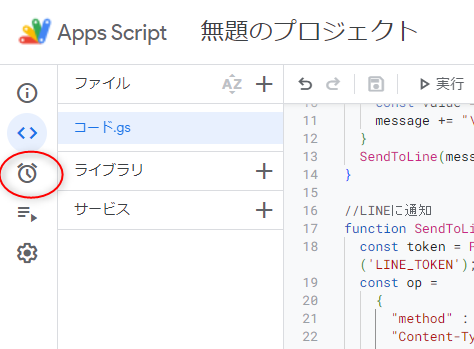
}最後にフォームに回答された時にプログラムを実行するため、トリガーの設定をします。時計マークのアイコンをクリック→右下の「トリガーを追加」をクリック
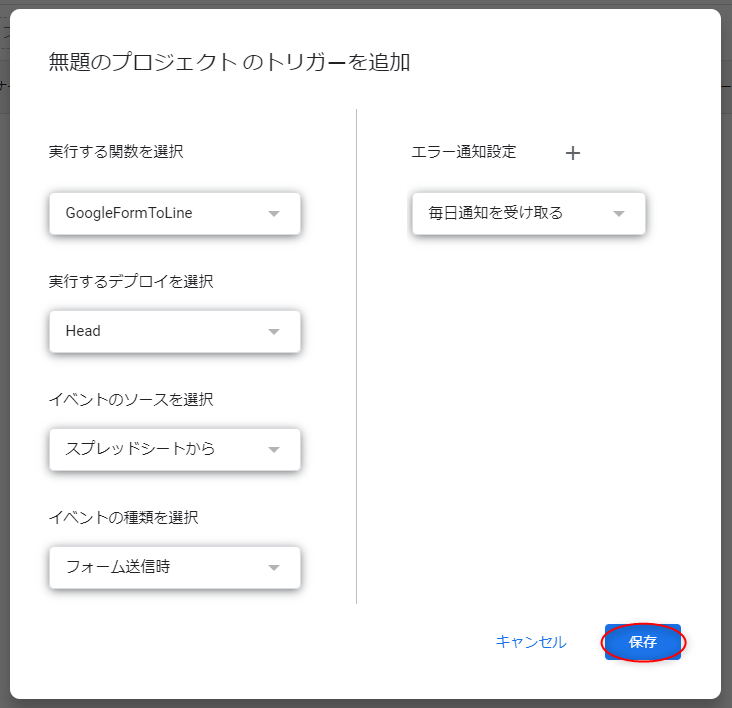
以下のように設定する。
- 実行する関数:GoogleFormToLine
- 実行するデプロイ:Head
- イベントのソース:スプレッドシートから
- イベントの種類:フォーム送信時 (デフォルトとは違うので注意)
- エラー通知設定:どれでもよい(エラーがあったときに通知を受け取る頻度)
再度、Googleアカウントへのログインと、アプリの認証画面が出てくると思うので、前述と同じように操作する。
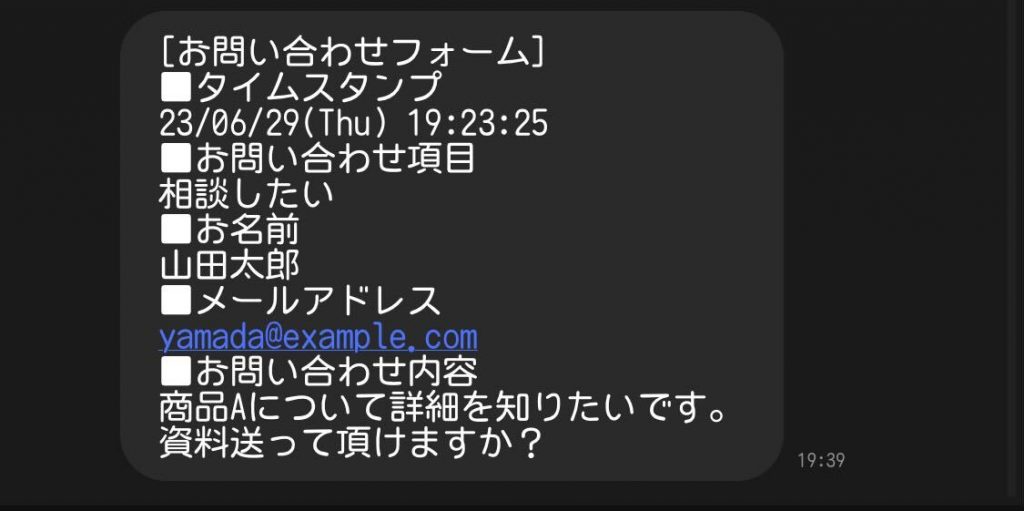
動作確認
例えば、以下の内容でフォームを送ってみる。
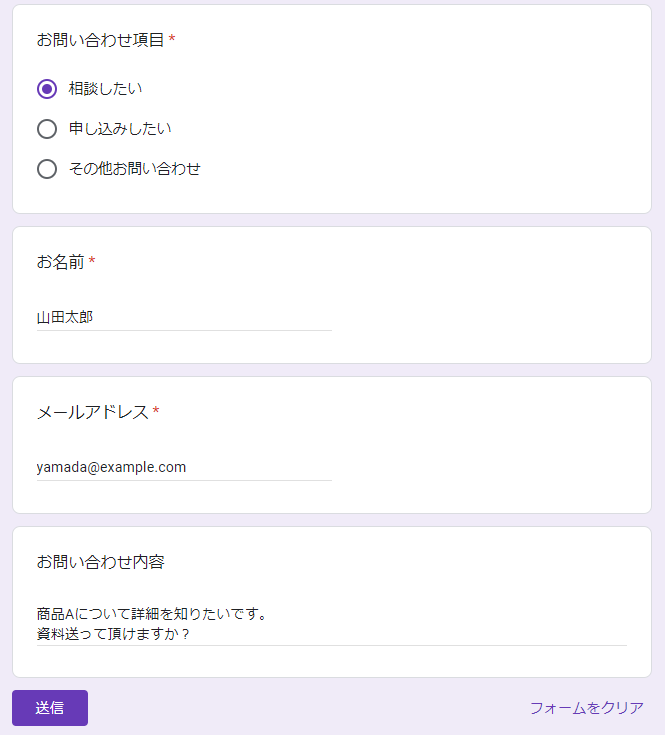
きちんと届くと思います。